 Save to Pinterest
 I discovered charcuterie chips by accident at a dinner party when I got tired of traditional cheese boards taking up half my kitchen counter. While arranging some thinly sliced salami and aged cheddar on a baking sheet, it hit me—what if I just crisped these up in the oven? Ten minutes later, I pulled out something that tasted like the best parts of a charcuterie board but with a shatteringly crisp texture that made everyone stop mid-conversation. Now I make them whenever I need to impress without fussing.
I remember making these for my sister's surprise birthday brunch, and she literally forgot to eat her actual meal because she kept sneaking chips off the platter. The way her eyes lit up when she bit into one and it shattered between her teeth—that's when I knew these weren't just a snack, they were a secret weapon. She's asked me to bring them to every gathering since, and I never show up empty-handed anymore.
Ingredients
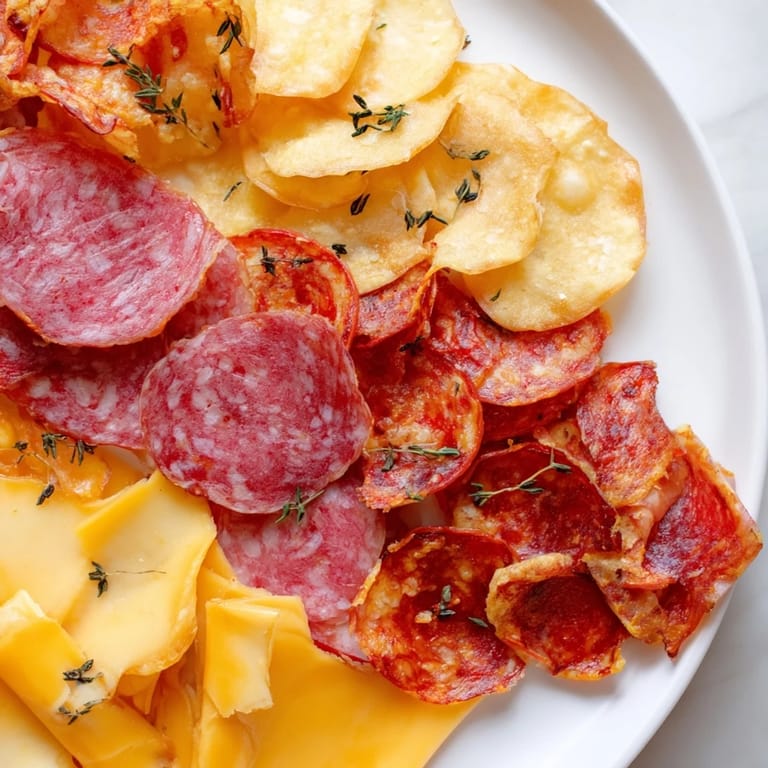
- Thinly sliced salami (100 g): Look for good quality—thinner slices crisp better, and the fat marbling is what makes them taste rich, not greasy.
- Thinly sliced prosciutto (100 g): The delicate ones brown fastest, so watch them carefully so they don't blacken at the edges.
- Thinly sliced pepperoni (100 g): The slight spice cuts through the richness and keeps things interesting.
- Hard cheese like aged cheddar, Manchego, or Parmesan (100 g): These hold their shape and get crispy lace edges that are pure texture gold.
- Semi-hard cheese like Gouda or provolone (100 g): They melt just enough to soften without spreading all over the pan.
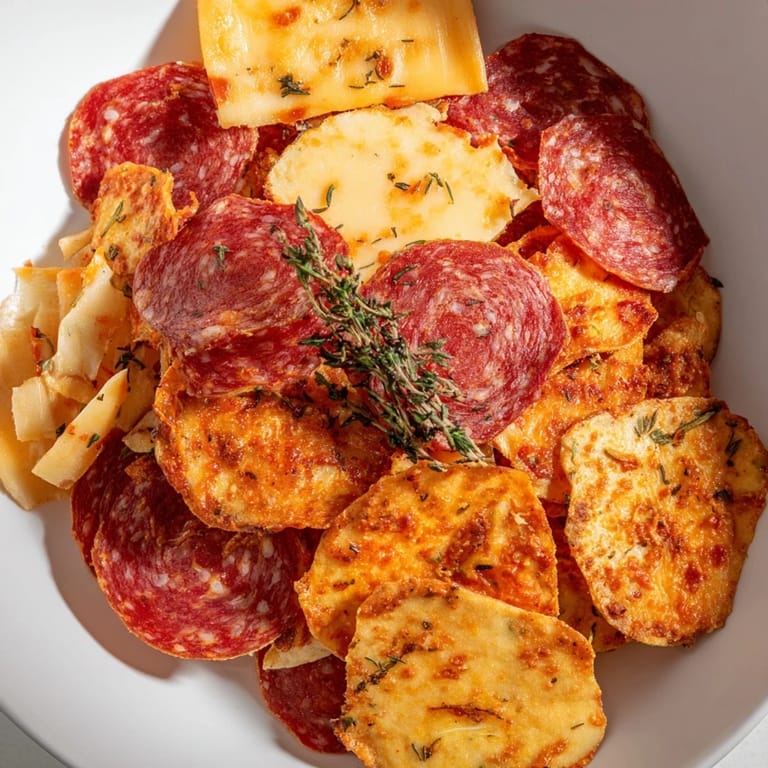
- Fresh herbs—thyme or rosemary, finely chopped (optional): A whisper of herb flavor makes these feel intentional, not lazy.
- Cracked black pepper (optional): A tiny pinch wakes everything up without overwhelming the meat and cheese flavors.
Tired of Takeout? 🥡
Get 10 meals you can make faster than delivery arrives. Seriously.
One email. No spam. Unsubscribe anytime.
Instructions
- Set Your Stage:
- Preheat your oven to 375°F and line two baking sheets with parchment paper. This separation matters because meat and cheese bake at different speeds and need their own space.
- Lay Out the Meat:
- Arrange your salami, prosciutto, and pepperoni slices on the first sheet in a single layer, leaving a tiny bit of space between them so heat can reach all sides. They'll shrink as they cook, so don't worry about leaving gaps.
- Set Up the Cheese:
- On the second sheet, arrange your cheese slices the same way—single layer, slight spacing. If you're using the herbs or pepper, sprinkle them now while the cheese is still flat and waiting.
- Bake the Meat First:
- Slide the meat into the oven for 8–10 minutes, watching for the edges to turn a deeper brown and the whole surface to look crispy. You'll smell when they're close—a rich, toasted aroma that fills the kitchen.
- Finish with Cheese:
- While the meat is crisping, slide the cheese in for 6–8 minutes. Look for golden color and gentle bubbling at the edges. The timing means they'll come out around the same time, which is convenient and also delicious.
- Cool Them Right:
- Meat chips can cool completely on the pan—they'll crisp more as they cool. Cheese chips need 5 minutes on the pan, then gently lift them with a metal spatula before they set into the parchment. Patience here prevents broken edges.
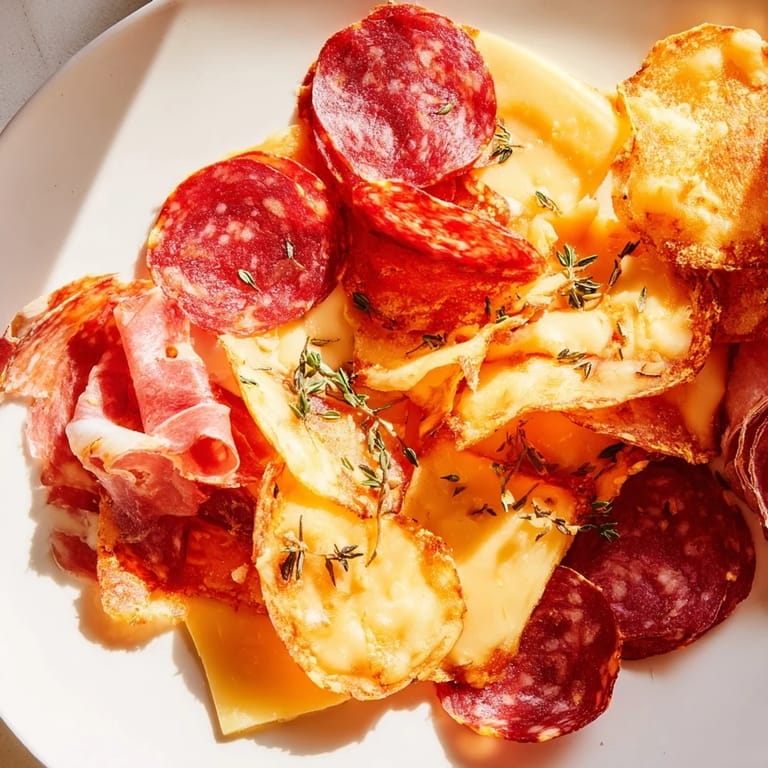
- Plate and Serve:
- Arrange everything on a platter just before serving so the chips stay at peak crispness. If you're making these ahead, store them separately and arrange only when guests arrive.
 Save to Pinterest
 There was a moment during a weeknight dinner when my usually picky cousin grabbed a handful of these chips and actually asked for seconds without being prompted. That small victory—turning cured meat and cheese into something that earned genuine enthusiasm—reminded me that the best recipes are the ones that feel effortless to make but taste like you tried much harder than you did.
The Secret to Perfect Texture
The magic happens in those final minutes when the oven's heat pushes all the moisture out and leaves behind pure flavor and snap. I learned this the hard way after my first batch turned out chewy, and I realized I'd overlapped the slices like I was tiling a roof. Once I gave them space, everything changed—the meat developed this almost caramelized exterior, and the cheese turned into something between a crisp and a cracker.
Making This Your Own
You don't have to stick to the exact meats and cheeses I suggested. I've made versions with smoked turkey, different aged cheddars, even crumbly Cotija for a completely different vibe. The ratio of meat to cheese matters more than the specific types—roughly equal amounts keep everything balanced and prevents either one from dominating.
Storage and Serving Ideas
These are honestly best eaten fresh from the cooling phase, but life happens and you might need to make them ahead. Store them in an airtight container at room temperature for up to 2 days, and they'll still have decent crunch—not perfect, but respectable. For a full experience, serve alongside olives, cornichons, or a light red wine that echoes the richness without fighting it.
- Room temperature storage keeps them crispy better than the fridge, which draws out moisture in a bad way.
- If they lose snap overnight, a quick 2-minute oven toast at 300°F brings them back to life.
- Make double and keep some on hand for when unexpected guests arrive or when you need a quick hand-held lunch.
 Save to Pinterest
 These chips remind me why I love cooking in the first place—taking two simple ingredients and turning them into something that doesn't just feed people, but makes them smile. That's the whole recipe right there.
Questions & Answers
- → What meats are best for making charcuterie chips?
Thinly sliced cured meats like salami, prosciutto, and pepperoni work best due to their fat content and texture which crisp nicely when baked.
- → How do I prevent cheese chips from sticking to the baking sheet?
Line baking sheets with parchment paper and space cheese slices apart to allow air circulation and easy removal once baked.
- → Can I add herbs or spices to enhance flavor?
Yes, sprinkling fresh herbs like thyme or rosemary or cracked black pepper on cheese chips before baking adds aromatic depth and flavor complexity.
- → What’s the ideal oven temperature for crisping charcuterie chips?
Preheating the oven to 375°F (190°C) ensures meats and cheeses bake evenly, achieving a crisp yet tender texture without burning.
- → How should leftover chips be stored for best freshness?
Store cooled chips in an airtight container at room temperature for up to two days to maintain their crispiness.