 Save to Pinterest
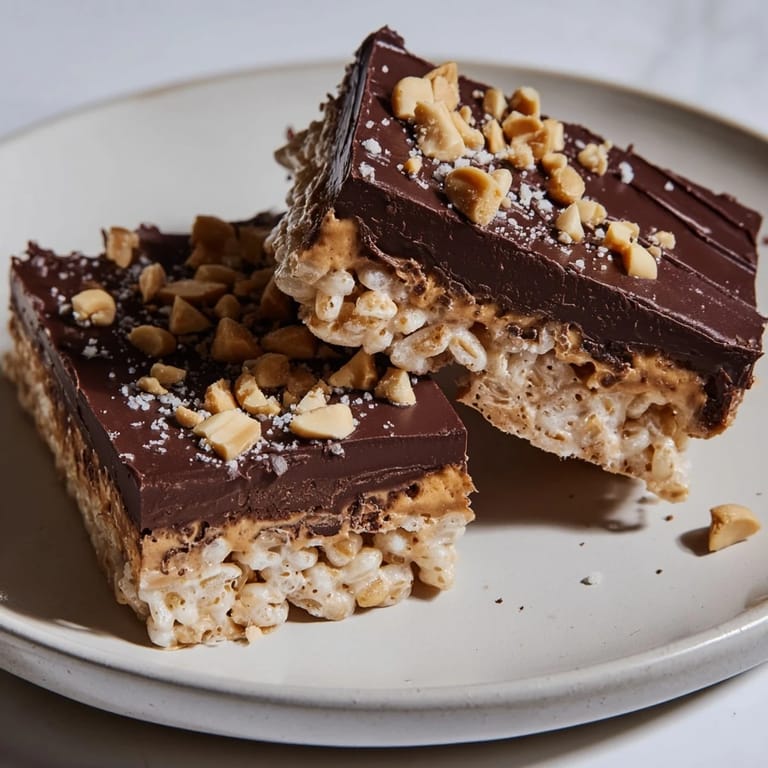
 There's something almost magical about the moment chocolate meets peanut butter in the freezer—that split second when you bite through the brittle shell and it cracks open to reveal the creamy layer beneath. I discovered these rice cake treats on an ordinary Tuesday afternoon when I was rummaging through my pantry looking for something quick, and I found myself staring at a lonely box of rice cakes. Instead of tossing them, I grabbed the peanut butter, melted some chocolate, and ten minutes later had created something that tasted like a candy bar but felt like cheating because it took almost no effort.
I brought these to a potluck last summer, tucked into a small container, half-expecting them to get buried under casseroles. Instead, people kept circling back asking what they were and why they couldn't stop eating them. That's when I realized that sometimes the simplest ideas, the ones you stumble into by accident, turn out to be the ones people actually remember.
Ingredients
- Rice Cakes: Three large plain ones become your canvas, crispy and sturdy enough to hold the layers without falling apart.
- Creamy Peanut Butter: Use six tablespoons total, divided evenly, and go with whichever kind you already have—sweetened or unsweetened both work beautifully.
- Semi-Sweet or Dark Chocolate: One hundred grams chopped up into smaller pieces so it melts faster and more evenly in the microwave.
- Coconut Oil: Just one tablespoon mixed with the chocolate makes it melt smoother and sets with a snappier texture.
- Roasted Peanuts and Sea Salt: Optional but worth the effort—they add texture and a sophisticated salty-sweet contrast.
Tired of Takeout? 🥡
Get 10 meals you can make faster than delivery arrives. Seriously.
One email. No spam. Unsubscribe anytime.
Instructions
- Set Your Stage:
- Line a baking sheet with parchment paper so cleanup is effortless and nothing sticks. Break your rice cakes into large chunks or squares—don't worry about making them perfectly uniform; imperfect pieces look more homemade anyway.
- Spread the Peanut Butter:
- Give each piece about a tablespoon of peanut butter, spreading it evenly with the back of a spoon so it covers right to the edges. The layer should be generous but not so thick that it oozes out when you bite into it.
- Melt the Chocolate:
- Put your chopped chocolate and coconut oil in a microwave-safe bowl and heat in twenty to thirty second bursts, stirring between each one until you have a smooth, glossy mixture. Don't skip the stirring—it prevents the chocolate from seizing and gives you a better sense of when it's done.
- Coat with Chocolate:
- Spoon or drizzle the melted chocolate over each peanut butter-covered piece, making sure every surface gets coated. Work quickly before the chocolate starts to set, and don't stress about perfection—the rustic look is part of the charm.
- Add the Finishing Touch:
- If you're using them, sprinkle chopped peanuts and a pinch of sea salt over the chocolate while it's still wet so they stick.
- Freeze Until Set:
- Pop the tray into the freezer for at least forty-five minutes until the chocolate firms up completely. You can test it by pressing gently with your finger—it should feel solid, not tacky.
- Cut and Store:
- Once completely set, cut the pieces into bars or bite-sized chunks as you prefer. Keep them in an airtight container in the freezer and eat them straight from the cold for that perfect textural contrast.
 Save to Pinterest
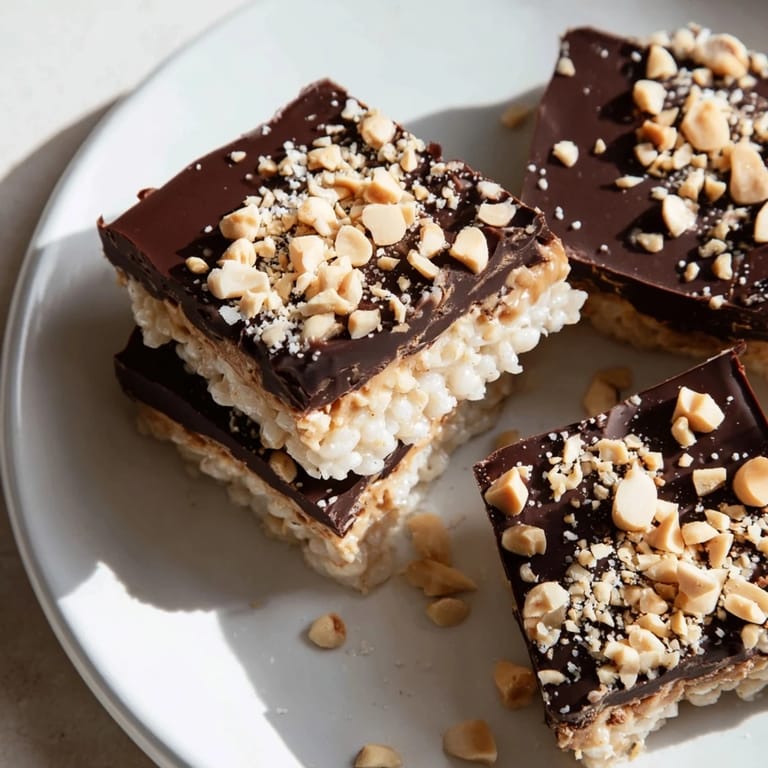
 What I love most is how these treats bridge the gap between snack and dessert, satisfying both the person who wants something quick at three in the afternoon and the person who needs something sweet after dinner. They feel fancier than they are, which is the best kind of kitchen magic.
Variations Worth Trying
The beauty of this recipe is how easily it adapts to whatever you're craving that day. I've made versions with almond butter when peanut allergies were a concern, and swapped dark chocolate for milk chocolate when I wanted something less intense. A friend tried adding a thin layer of honey or maple syrup between the peanut butter and chocolate, and it created this golden sweetness that was almost like a candy bar. You could even dust the chocolate with a tiny bit of cinnamon or cayenne pepper before it sets if you want something with a subtle kick.
Make Them Your Own
The ingredients list is really just a starting point—these treats are forgiving enough to work with whatever you have on hand. Once you make them once, you'll start seeing possibilities everywhere: what if you used sunflower seed butter instead, or white chocolate mixed with the dark, or even a sprinkle of pretzels for crunch.
Storage and Serving Tips
These keep beautifully in the freezer for several weeks as long as you store them in an airtight container, which prevents the chocolate from picking up freezer flavors and keeps everything tasting fresh. They thaw quickly if you leave them at room temperature for a few minutes, but honestly, eating them frozen straight from the container is the way to go. I've found that having a batch ready in the freezer is one of those small kitchen gifts you give yourself.
- Make a double batch and freeze half for those moments when you need an instant treat.
- If the chocolate layer cracks when you cut them, that's actually a good sign—it means the chocolate set properly and has snap.
- Keep them tightly sealed or they'll absorb odors from whatever else is in your freezer.
 Save to Pinterest
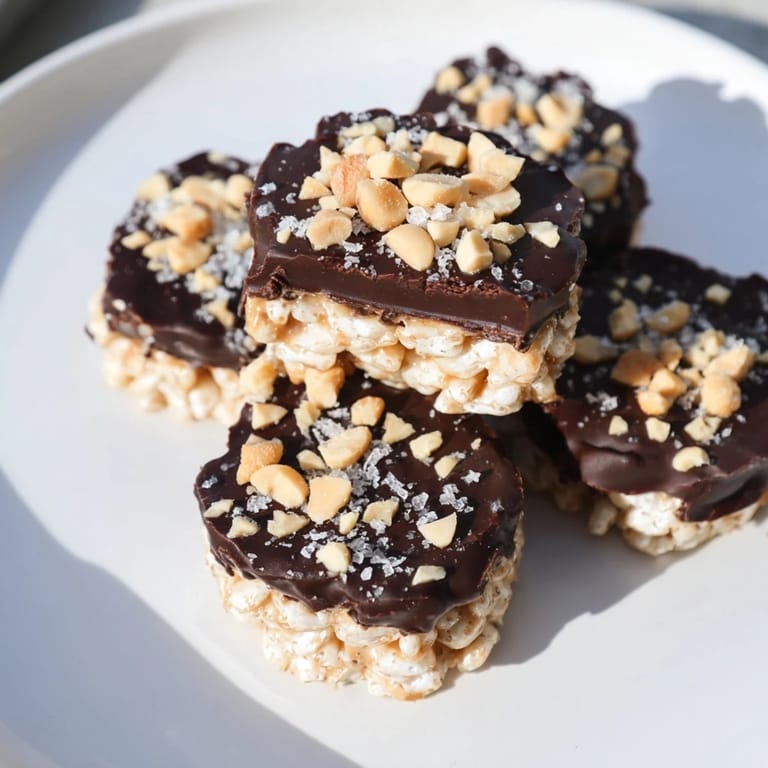
 These little treats have become my answer to the question of what to make when you want something that tastes like you tried harder than you actually did. They're the kind of recipe that reminds you that the best kitchen discoveries often come from happy accidents and an open pantry.
Questions & Answers
- → How do I melt the chocolate smoothly?
Use short bursts in the microwave, stirring frequently to avoid burning and ensure a smooth texture.
- → Can I substitute the peanut butter?
Yes, almond or cashew butter work well for a different flavor profile or to accommodate allergies.
- → Is freezing necessary for these bars?
Freezing helps the chocolate set firmly and enhances the texture, making the bars easier to cut and enjoy.
- → Are these bars suitable for gluten-free diets?
They are gluten-free when using certified gluten-free rice cakes and careful with other ingredient choices.
- → How should the bars be stored?
Keep them in an airtight container in the freezer to maintain firmness and freshness until serving.