 Save to Pinterest
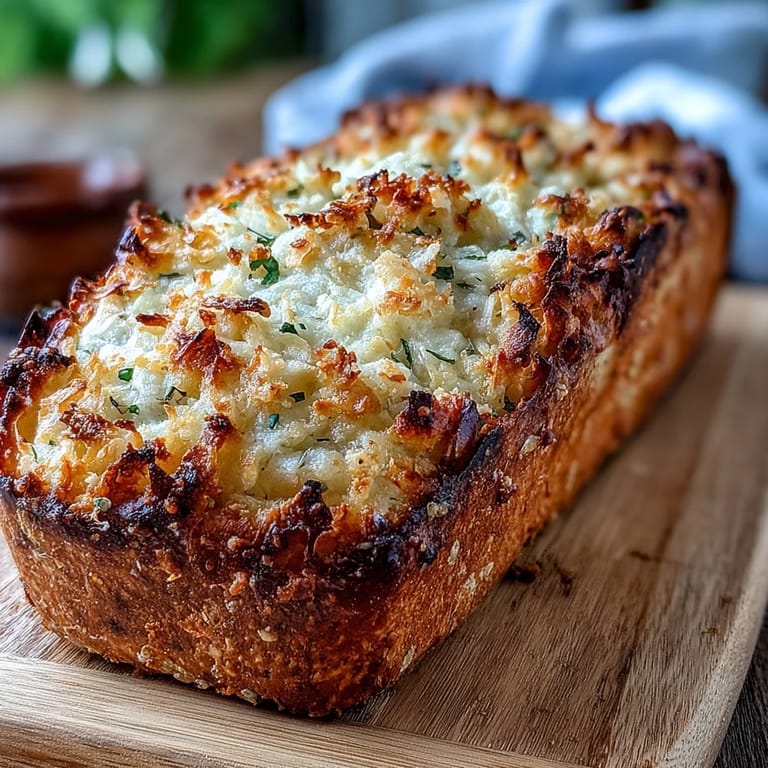
 The smell of garlic and Parmesean baking through dough changed how I thought about bread making forever. I used to believe artisan bread required arcane knowledge and commercial ovens, until a snowy weekend when I decided to experiment with adding cheese directly into the dough itself.
My first attempt disappeared in twenty minutes during a dinner party. People kept asking where I ordered it from, and their genuine disbelief when I said homemade made this recipe an instant regular in our house.
Ingredients
- All-purpose flour: This workhorse flour creates the right structure without making the bread too dense or too delicate
- Salt: Essential for flavor and controlling yeast fermentation, dont reduce this
- Granulated sugar: A small amount feeds the yeast and helps achieve that golden brown color
- Active dry yeast: This slow fermentation yeast develops the best flavor over the long rise time
- Warm water: Think bathwater temperature, about 110°F, to activate the yeast without killing it
- Olive oil: Adds tenderness to the crumb and helps the crust stay crisp longer
- Freshly grated Parmesan cheese: Buy a wedge and grate it yourself for the best melting and flavor distribution
- Garlic cloves: Mince these finely so they roast evenly throughout the bread without burning
- Fresh rosemary or parsley: These herbs add brightness that cuts through the rich cheese and garlic
Tired of Takeout? 🥡
Get 10 meals you can make faster than delivery arrives. Seriously.
One email. No spam. Unsubscribe anytime.
Instructions
- Combine your dry base:
- Whisk together flour, salt, and sugar in a large bowl until everything feels completely incorporated
- Wake up the yeast:
- Stir yeast into warm water and watch for foam to form on the surface, which tells you its alive and working
- Bring it together:
- Pour the yeast mixture and olive oil into the flour, stirring with a wooden spoon until you have a shaggy, sticky dough
- Add the magic:
- Fold in Parmesan, garlic, and herbs until theyre distributed throughout the dough, streaking it with cheese
- Let time work:
- Cover the bowl and let it rise somewhere warm overnight, until its doubled and covered in bubbles
- Shape with care:
- Turn the dough onto a floured surface and gently form it into a round, being careful not to deflate all those air bubbles
- Preheat properly:
- Place your dough on parchment while your Dutch oven heats at 450°F for at least 30 minutes
- Score for beauty:
- Cut a shallow slash across the top of the loaf to help it expand and create that artisan pattern
- Bake covered:
- Transfer dough and parchment into the hot Dutch oven, cover, and bake for 30 minutes to steam the loaf
- Crisp it up:
- Remove the lid and bake another 15 minutes until the crust turns deep golden and sounds hollow when tapped
- Wait for perfection:
- Cool on a wire rack for at least 30 minutes, or the crumb will be gummy when you slice it
 Save to Pinterest
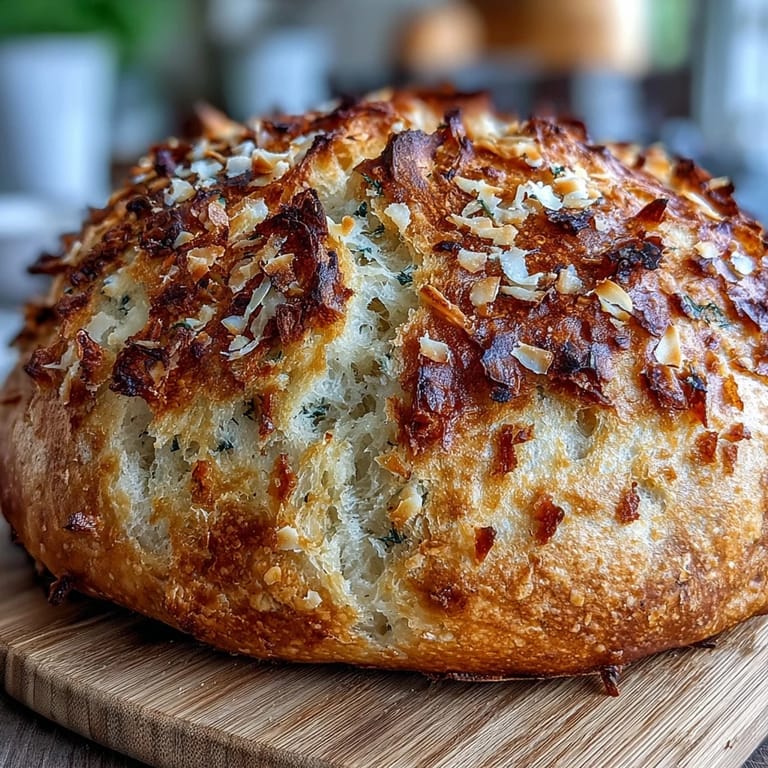
 This bread became the thing my daughter requests for her birthday dinner every year. Something about tearing into that hot crust and finding the cheesy garlic pockets just feels like celebration.
The Secret to That Crusty Exterior
The Dutch oven method mimics professional steam injected ovens. When you cover the dough, the moisture trapped inside creates steam, which gelatinizes the starch on the surface and gives you that blistered, bakery style crust that shatters when you bite into it.
Making This Your Own
Sometimes I swap in sharp cheddar and add diced jalapeños for a kicked up version. Asiago creates a nuttier, more intense flavor profile, and Gruyère brings this incredible melted depth. Just keep the total cheese amount the same for proper dough hydration.
Perfect Pairings
This bread shines alongside anything soupy or saucy. The cheese and garlic stand up to bold flavors while the tender crumb soaks up every drop.
- Try it with tomato basil soup for the ultimate comfort meal
- Use leftovers for outrageously good grilled cheese sandwiches
- Cubed stale bread makes the best cheesy garlic croutons for salads
 Save to Pinterest
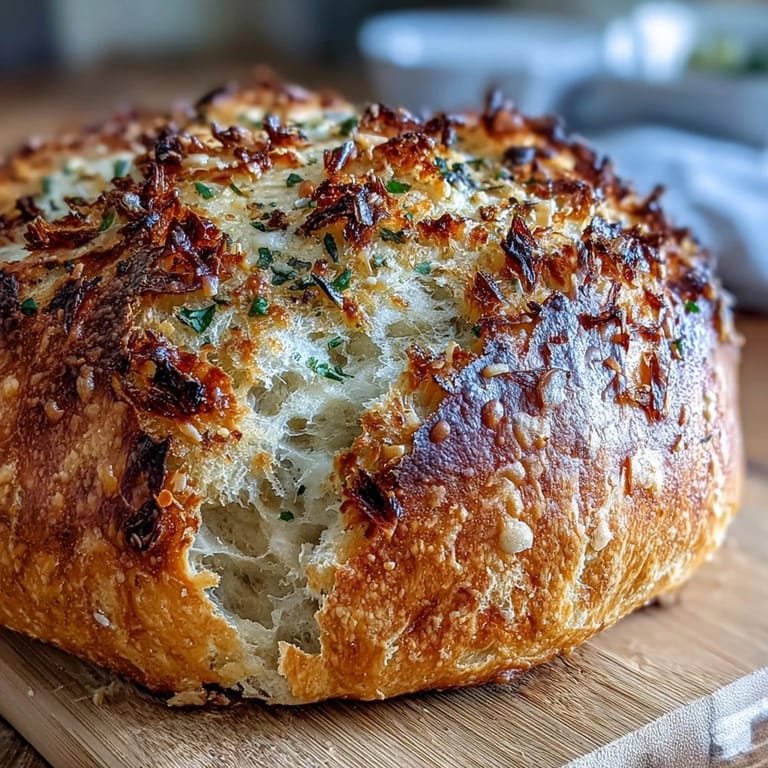
 Theres something deeply satisfying about pulling a loaf this beautiful from your own oven. The aroma alone fills the whole house and calls everyone to the kitchen.
Questions & Answers
- → Why does this bread need to rise for so long?
The extended rise allows natural fermentation to develop complex flavors and creates the signature airy texture. This slow process breaks down sugars for better taste while making the dough easier to handle.
- → Can I use instant yeast instead of active dry?
Absolutely. Instant yeast can be mixed directly with dry ingredients without proofing in warm water first. Use the same amount called for in the ingredients.
- → What if I don't have a Dutch oven?
A heavy oven-safe pot with a tight-fitting lid works perfectly. Cast iron, ceramic, or even stainless steel with a baking sheet as a lid will create the steam needed for a crisp crust.
- → Can I freeze this loaf?
Yes. Wrap completely cooled bread tightly in plastic, then foil. Freeze for up to 3 months. Thaw at room temperature, then refresh in a 350°F oven for 10 minutes to restore crustiness.
- → Why is my dough so sticky?
Sticky dough is intentional and desirable for this style. Resist adding more flour. The moisture creates steam in the oven, resulting in those beautiful air pockets and tender crumb. Flour your hands when handling.