 Save to Pinterest
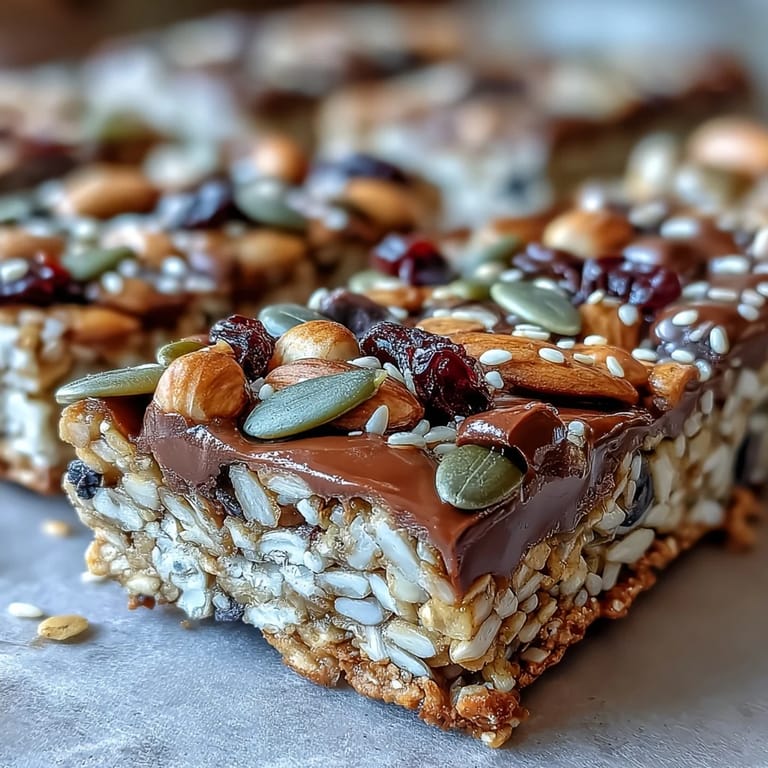
 The gentle hum of the oven and the scent of honey blending with toasted oats always makes me think of afternoons spent in my tiny city apartment. One summer, motivated more by an empty snack jar than ambition, I tried my hand at granola bars and discovered how easily a batch could transform bland pantry items into something golden and chewy. A splatter of coconut oil on my shirt and fingers sticky from sunflower butter became small badges of kitchen success. These Nut-Free Granola Bars feel like the answer to afternoon hunger pains and impromptu beach trips, especially for friends who have to dodge nuts at every turn. The crunch and chewiness each bar delivers are all reward, no compromise.
When my neighbor dropped by for coffee one rainy Saturday and ended up staying for hours, I baked these bars to fill the gap between cups. We ended up laughing over the way the chocolate chips stuck to our teeth, and the bars managed to bring a cheerful warmth to our quiet, grey afternoon. Sometimes, that's all you need: snacks with enough sweetness to turn conversation into celebration. These have been requested since, especially when we plan a group hike or a beach gathering—everyone loves their grab-and-go goodness. A batch never lasts more than a day or two in my house.
Ingredients
- Old-fashioned rolled oats: Pressing them firmly is key for chewy bars that hold together, and I always use the largest flakes for extra texture.
- Unsweetened shredded coconut: Adds soft, fragrant sweetness and a subtle chew—toast it if you want more depth.
- Pumpkin seeds (pepitas): Bright green crunch and a mild flavor, make sure they're raw or lightly toasted for balance.
- Sunflower seeds: Every handful bumps up crunch; I prefer unsalted to control the saltiness.
- Dried cranberries or raisins, roughly chopped: Chopping helps them distribute more evenly, giving each bite a little juicy pop.
- Mini chocolate chips (optional): For a touch of richness—add after mixing so they don't melt.
- Fine sea salt: A small pinch keeps the sweetness in check and brings flavors forward.
- Ground cinnamon: Brings warm undertones; I sometimes sprinkle a bit extra before baking for aroma.
- Honey: Use a mild, light honey for sweetness and binding—warming it makes mixing easier.
- Sunflower seed butter or tahini: Essential for nut-free creaminess; I love the slight earthiness from tahini.
- Coconut oil, melted: Helps everything come together with a gentle tropical note.
- Pure vanilla extract: Adds depth and amplifies the sweetness.
Tired of Takeout? 🥡
Get 10 meals you can make faster than delivery arrives. Seriously.
One email. No spam. Unsubscribe anytime.
Instructions
- Prep the Pan:
- Line your baking pan with parchment, leaving enough overhang so you can lift the bars out easily—don't skip this or you'll fight for every crumb later.
- Gather the Dry Ingredients:
- Pour oats, coconut, seeds, dried fruit, salt, and cinnamon into your biggest bowl; mix until colors and scents meld together, inviting anyone nearby to grab a handful.
- Make the Wet Mixture:
- Stir honey, seed butter, coconut oil, and vanilla over gentle heat in a small saucepan until silky and warm, catching that light floral aroma as it swirls.
- Combine Everything:
- Pour the molten wet mixture onto the dry ingredients, then fold until every oat is shiny and sticky—if you need to, use your hands to help.
- Press and Shape:
- Scoop the mixture into the pan, pressing firmly with a spatula or measuring cup so the bars stay together after baking.
- Bake to Perfection:
- Slide the pan into the hot oven, then bake until the edges brown and the center is set—your kitchen will fill with a cozy, honeyed aroma.
- Cool and Slice:
- Let the bars cool completely before lifting them out and cutting; patience here means clean cuts and less crumbling.
- Store for Later:
- Place the bars in an airtight container at room temperature for up to a week, or refrigerate for a firmer bite and longer shelf life.
 Save to Pinterest
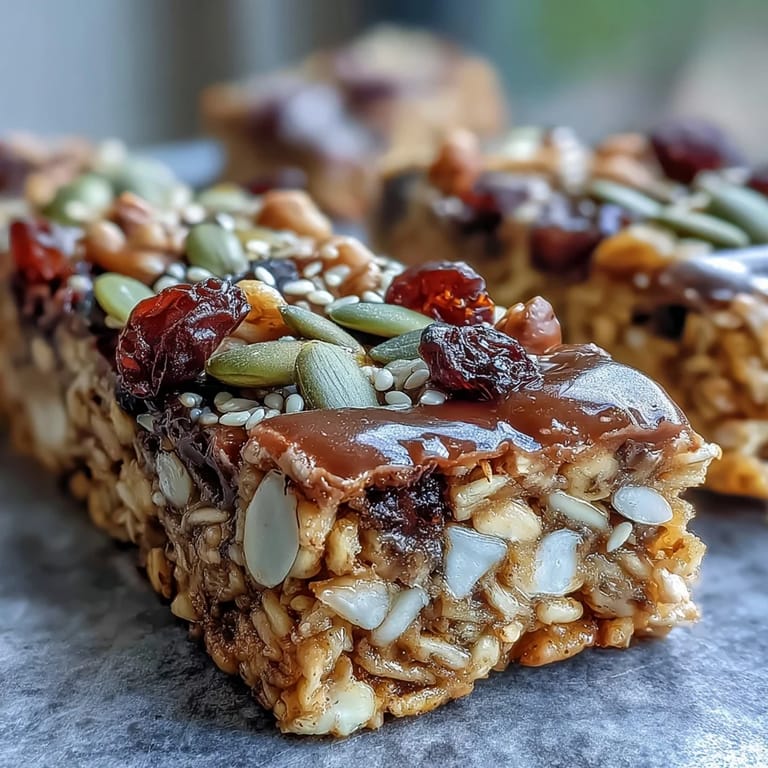
 The first time I brought these bars to a family beach picnic, my niece wanted to trade her store-bought snack for one of mine. Watching sandy fingers grasp a homemade bar felt like a sweet compliment. It was more than just a snack: it had become a beach tradition, joining in sun-soaked afternoons and casual conversations. Something about their homey feel and nut-free assurance let everyone enjoy them together. They always disappear before the sunscreen bottles do.
Snack Storage and Freshness
After baking, I usually store these bars in a container lined with parchment—keeps them from sticking and makes grabbing one much easier. Refrigeration yields a firmer, denser bar, perfect for tossing in bags before heading out. Room temperature storage keeps them chewy and soft, and I love how the honey flavor intensifies with time. They stay fresh for up to a week, and a double batch lasts twice as long (if you can resist eating them all). If you need something for the road, wrap each bar individually in wax paper.
Making It Your Own
Swapping dried fruit is easy—I've made batches with chopped apricots, dates, or cherries, and each version had its own personality. Chocolate chips add indulgence, but even dairy-free varieties work well for allergy-friendly occasions. Toasting the oats and seeds gives a savory depth, and don't hesitate to use maple syrup for a vegan twist. Sunflower seed butter and tahini let you personalize the flavor, so I choose whichever I have on hand. The bars are endlessly adaptable and always welcome.
Troubleshooting for Perfect Bars
Sometimes, my bars turned too dry or crumbly because I rushed the pressing step—now I use a measuring cup and pack the mixture tightly. If they're a bit brittle, a few extra tablespoons of honey or coconut oil quickly bring back the chewiness (just add before baking next time). Be sure to let them cool completely before slicing for crisp, neat edges and minimal mess.
- Chop dried fruit finely for even distribution.
- Always check for hidden allergens in store-bought ingredients.
- Cool bars fully before slicing for best texture.
 Save to Pinterest
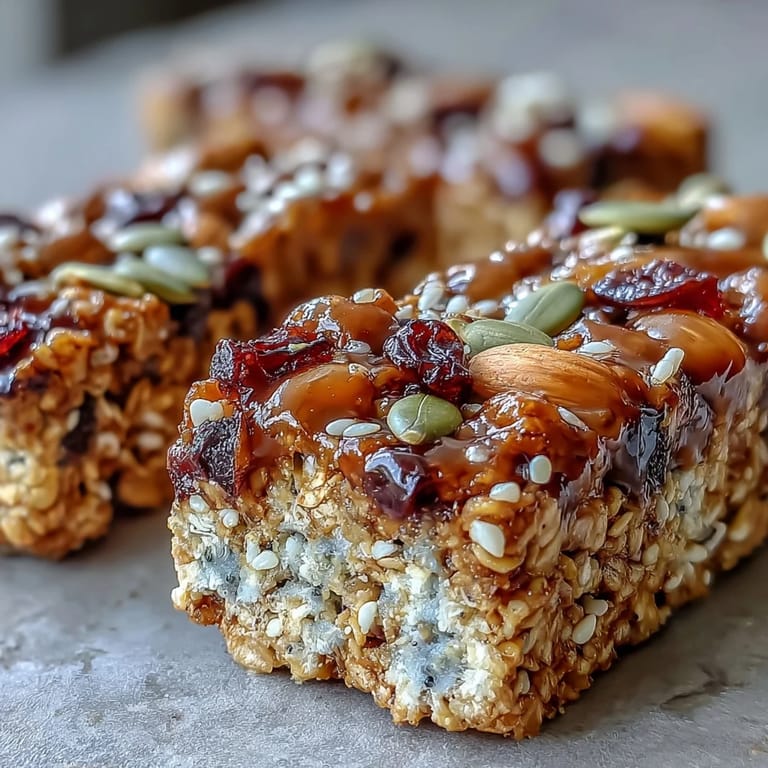
 Nothing beats the feeling of sharing homemade snacks that everyone can enjoy safely and happily. These granola bars are a little gift for busy days and lazy afternoons alike.
Questions & Answers
- → How can I substitute honey for a vegan-friendly option?
Replace honey with maple syrup or agave nectar to make the bars suitable for a vegan diet.
- → Can I add other ingredients like dried fruit or seeds?
Yes, you can mix in your favorite dried fruits, seeds, or dairy-free chocolate chips for extra flavor and texture.
- → How do I ensure the bars hold together well?
Press the mixture firmly and evenly into the pan using a spoon or measuring cup to compact the ingredients before baking.
- → How long do these bars stay fresh?
Store in an airtight container at room temperature for up to a week, or refrigerate for longer shelf life.
- → Are these bars safe for common allergies?
They're nut-free, but check for coconut, sesame, or dairy allergies. Always double-check ingredient labels.
- → Can I toast the oats and seeds for extra crunch?
Yes, toasting oats and seeds before mixing adds crunch and enhances flavor.