 Save to Pinterest
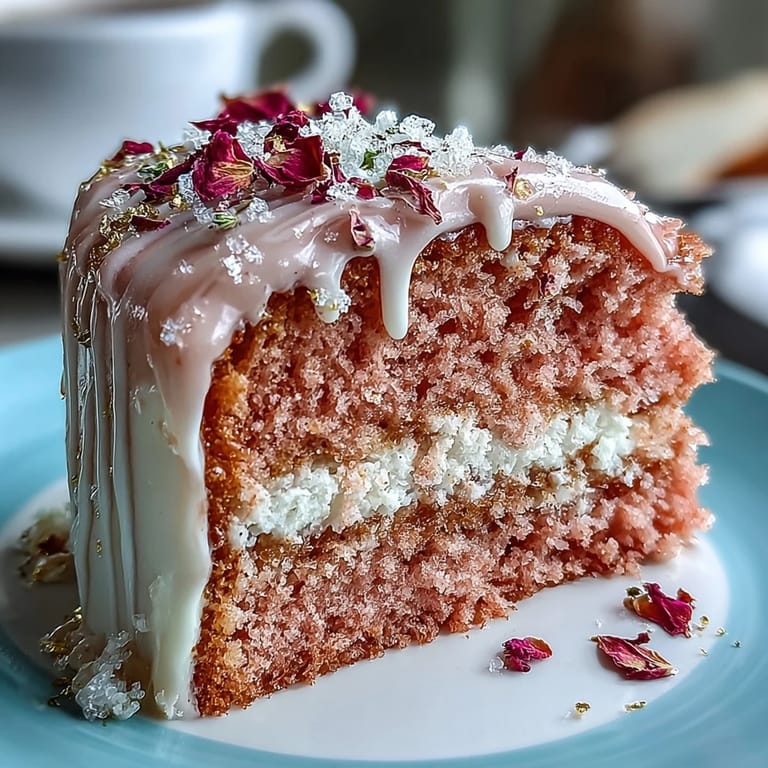
 Watching delicate swirls of pink batter come together in my kitchen feels almost like preparing a little celebration all on its own. The first time I made this Rosé Velvet Cake for a friend’s bridal shower, I was captivated by the sparkling fragrance of rosé mingling with the soft notes of vanilla. There was a quiet thrill with each step—especially when I painted those golden drips, holding my breath and crossing my fingers they’d glisten perfectly. Pink-stained fingertips and scattered rose petals somehow made the process feel even more joyous. It’s a cake that truly earns its place at the center of a special day.
I’ll never forget assembling this cake for my sister’s big day—my hands were dusted with sugar, and our kitchen was buzzing with laughter and sparkling wine. We debated over the perfect shade of pink, sneaked spoonfuls of buttercream, and cheered when the gold drips finally set just right. Even my little niece quietly perched on a stool, mesmerized by the process, which quietly became its own cherished memory.
Ingredients
- All-purpose flour: Sift well for a cloudlike crumb—don’t skip this, as clumps show in the final layers.
- Granulated sugar: Sweetens the cake and helps it bake up tender every time.
- Baking soda: Just the right amount gives lift without any odd aftertaste.
- Fine salt: Enhances all those delicate flavors—use a light touch.
- Unsweetened cocoa powder: Only a little for a whisper of flavor and that signature velvet color, not for a full chocolate punch.
- Vegetable oil: Keeps the cake moist for longer—don’t swap for butter if you want a truly velvety texture.
- Large eggs (room temperature): They blend smoothly and make the batter lush and stable.
- Buttermilk (room temperature): The tartness balances the sweetness and helps create the soft crumb.
- Rosé wine: A dry or sparkling rosé sings in the batter and the buttercream—never too much, always just a touch of floral lift.
- Vanilla extract: Adds depth and warmth, balancing the wine beautifully.
- White vinegar: Essential for the classic velvet cake reaction—helps with the vivid color and tenderness.
- Pink or rose gel food coloring: Gel is best for vibrant hues without thinning the batter—add just enough for your perfect bridal shade.
- Unsalted butter (for buttercream): Go for room temperature so the frosting whips up extra light and dreamy.
- Powdered sugar (sifted): No lumps means a smooth, melt-in-the-mouth buttercream—patience pays off here.
- Edible gold luster dust: The finishing touch—make sure it’s truly edible, not just decorative.
- White chocolate chips & heavy cream: Melted together, they make a soft drip that’s easy to paint.
- Vodka or clear lemon extract: Used to mix the luster dust into a brushable gold paint—it evaporates quickly, so the finish stays clean and crisp.
Tired of Takeout? 🥡
Get 10 meals you can make faster than delivery arrives. Seriously.
One email. No spam. Unsubscribe anytime.
Instructions
- Prep Your Pans:
- Grease and line three 8-inch cake pans with parchment—trust me, layers lift out perfectly this way, zero drama.
- Combine The Dry Ingredients:
- Sift flour, sugar, baking soda, salt, and cocoa into a big bowl; you’ll see a soft, even pile ready for magic.
- Mix The Wet Ingredients:
- In another bowl, whisk oil, eggs, buttermilk, rosé, vanilla, and vinegar together until the color is golden-pink and glossy.
- Make The Batter:
- Pour wet into dry and fold just until you can’t see streaks; swirl in food coloring a little at a time for your ideal pink.
- Divide And Bake:
- Pour batter evenly into pans, smoothing tops—while baking, your kitchen will fill with the most irresistible, sweet aroma.
- Cool The Cakes:
- Let cakes cool for 10 minutes in pans, then gently turn onto a rack; resist the urge to frost early (patience means no melty disasters).
- Whip The Buttercream:
- Beat butter until light, then gradually add powdered sugar—when you drizzle in rosé, the frosting turns as fluffy as a cloud and softly pink.
- Assemble The Cake:
- Layer cakes with buttercream, coating the outside with a thin crumb layer and chilling so the next round of frosting stays clean.
- Add The Final Coat:
- Spread the last layer of buttercream for a smooth finish—it’s oddly calming, like icing a pink canvas.
- Make The Gold Drip:
- Melt white chocolate and cream until silky, then cool slightly; drip it over cake edges with a spoon, breathing in the creamy aroma.
- Paint With Gold:
- Stir together luster dust and vodka or lemon extract, then paint each drip with a steady hand—standing back, the cake shimmers like a crown jewel.
- Decorate For Drama:
- Add edible gold accents, rose petals, or berries—less is often more, but a little sparkle is always just right for a celebration.
 Save to Pinterest
 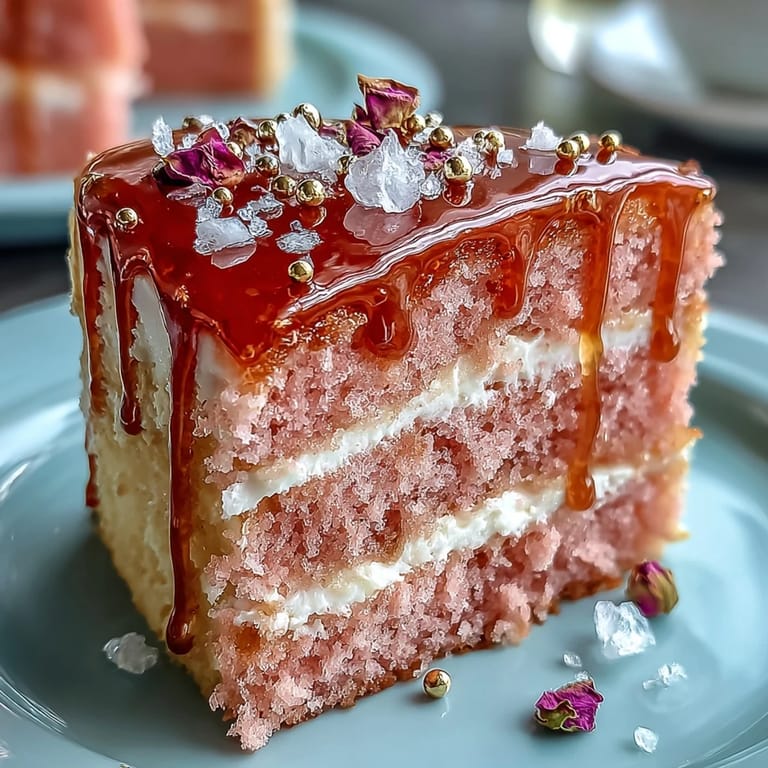 Save to Pinterest
 One rainy afternoon, I watched my best friend nervously rehearse her vows beside this cake, laughter mingling with nervous tears as we worked gold sparkle down each edge. The cake became more than something sweet—it became a marker of presence and togetherness, and somehow, everything felt a little more magical with each shimmering drip.
Making The Gold Drip Shine
The first few times I tried painting with gold luster dust, I used too much liquid and the paint streaked. Now, I always test the mixture on a scrap of parchment to check consistency before brushing it on the actual cake. Just use a light, patient stroke; the paint dries quickly and really does sparkle under soft light.
Choosing The Perfect Shade Of Pink
Don’t be afraid to mix tiny amounts of gel coloring at a time—too much can turn the cake neon, but building up slowly gives a blushing elegance that looks stunning in photos. Sometimes a drop or two of peach or lavender can create your signature tone. Swirl the color well so every slice is beautiful inside and out.
Make Ahead And Decorating Tips
Bridal shower mornings can get hectic, so I like to bake the cake layers a day in advance, wrap them tightly, and chill overnight for easier stacking and frosting. The buttercream also holds up well if made ahead; give it a quick whip before decorating to bring it back to life. Decorating is more fun with a friend to cheer you on and help catch stray gold paint drops.
- If you make extra gold paint, it keeps for weeks in an airtight jar.
- Clean your brush between coats for a crisp finish.
- Remember to breathe—it’s meant to be celebratory, not stressful.
 Save to Pinterest
 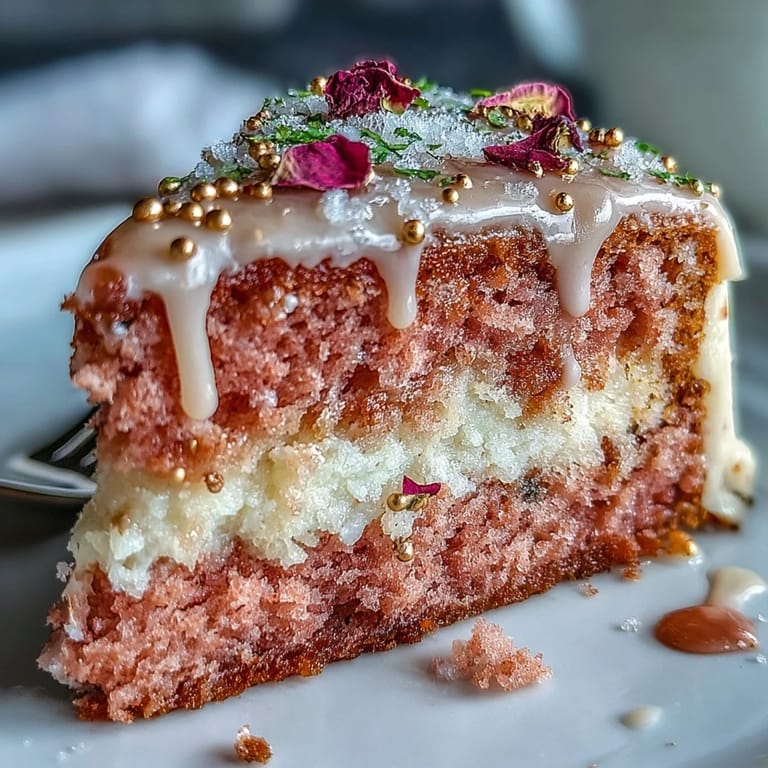 Save to Pinterest
 Every time I make this Rosé Velvet Cake, it becomes part of a celebration long before the first slice is cut. May it bring you just as much joy, sparkle, and laughter as it has brought to my kitchen.
Questions & Answers
- → What type of rosé works best?
Choose a dry or slightly off-dry rosé with bright fruit and floral notes; a sparkling rosé adds subtle effervescence. Avoid heavily tannic or oaky styles that can dominate the delicate cocoa and butter flavors.
- → How do I keep the buttercream stable?
Beat room-temperature butter until light, then gradually add sifted powdered sugar. Chill the buttercream briefly between layers if it becomes too soft. Use less liquid or more sugar to firm texture for hot kitchens.
- → How can I get an even rosy pink color?
Add gel food coloring a little at a time to the batter for vibrant color without altering texture. Gel concentrates color so you need only a small amount to reach the desired shade.
- → How is the gold drip made safe and shiny?
Make the drip from melted white chocolate and cream, cooled slightly before pouring. Mix edible gold luster dust with a small amount of clear food-safe alcohol or lemon extract to paint the set drip—only use food-grade, edible luster products.
- → Can this be made ahead and stored?
Yes. Bake and cool layers, wrap tightly and refrigerate overnight. Assemble and chill the frosted cake, then apply the drip within 24 hours of service. Bring to room temperature before serving for best texture.
- → Any tips to prevent a runny or uneven drip?
Cool the white chocolate mixture until slightly thickened but still pourable; test on the edge of a chilled bowl first. Chill the cake after a thin crumb coat so the drip sets on contact and runs form cleanly.